

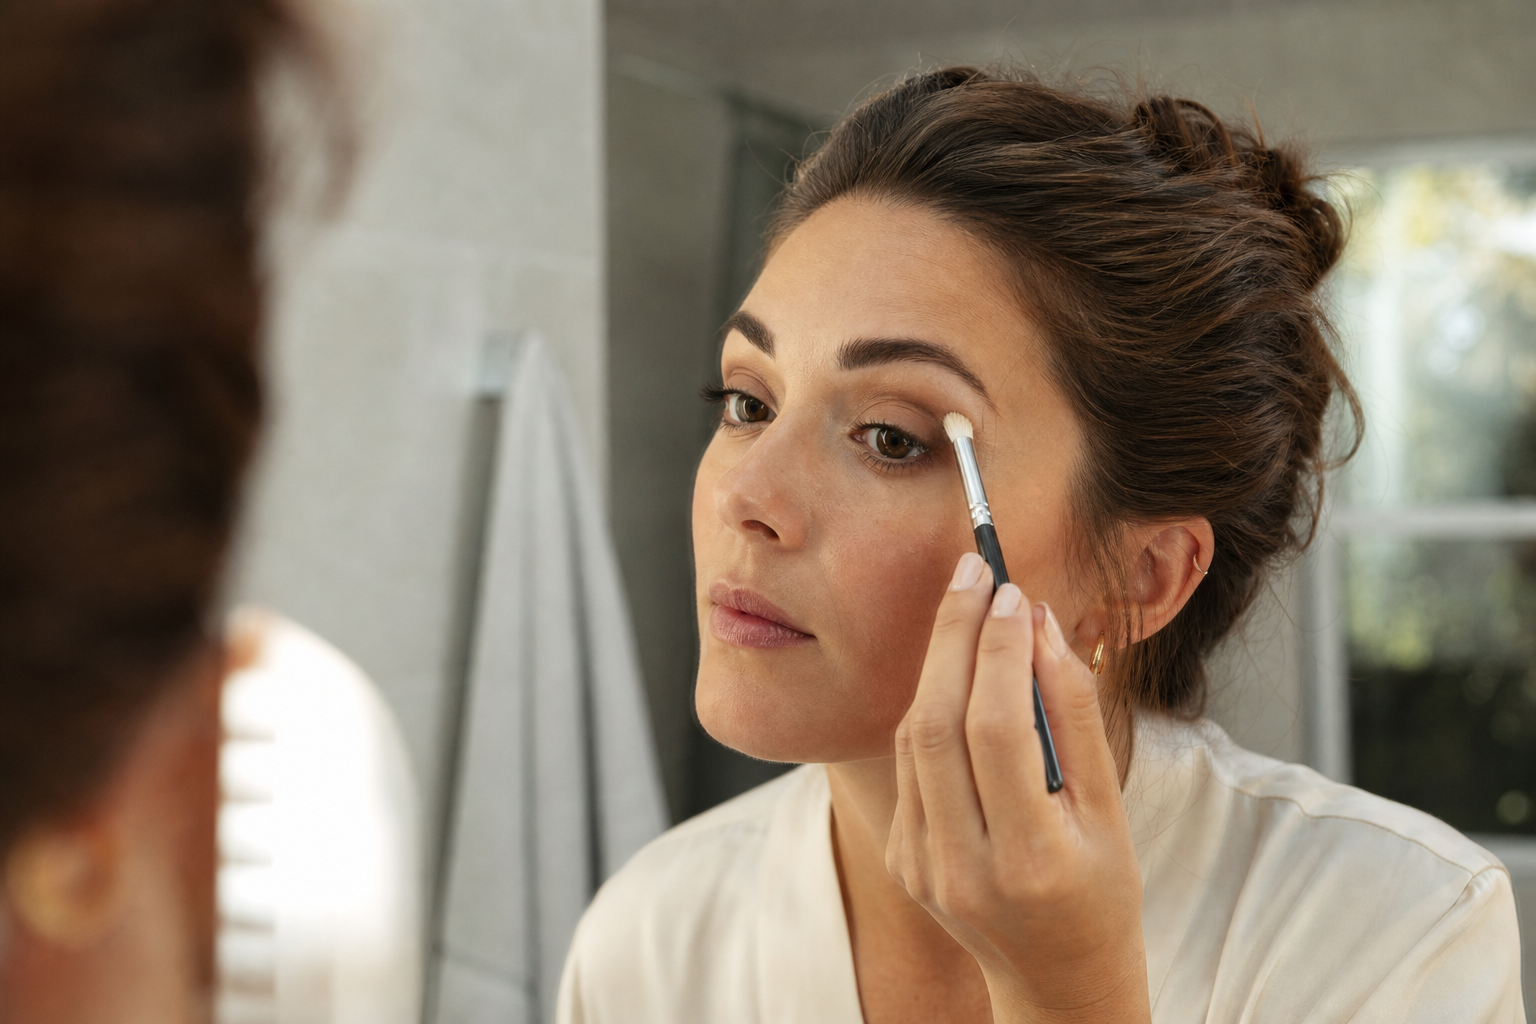
A mini crease brush is best used for controlled blending and small-area definition, not for covering the entire eyelid with colour. Its compact shape helps you work in the crease, refine the outer corner, and smudge eyeliner along the lash line, but technique matters as much as the tool.
The most common problems are using too much product, applying excessive pressure, placing colour too high or too low, and asking one brush to do every job. The sequence below shows how to combine a packing brush with a mini crease brush so you can build colour gradually and keep the result easier to adjust.

A mini crease brush is a small eye brush intended to fit into the crease and blend eyeshadow with more precision than a larger, softer blender. A slim tip can help define and detail the eyelid, while soft bristles make short blending movements more comfortable around the eye.
The tool is useful when you want to keep colour in a relatively narrow area, soften the edge of a deeper shade, or make a small adjustment at the outer corner. It can also be used to smudge eyeliner along the lash line. Those uses do not mean it should replace a flat brush for placing lid colour or a larger blender for diffusing a broad transition shade.
Descriptions such as “hypoallergenic” should be treated as product wording rather than a personal guarantee. If you have sensitive eyes or known allergies, check the complete product information and stop using any tool that causes discomfort.

Many eyeshadow problems come from using the right technique with the wrong brush. The choice is easier when you separate depositing colour from blending it.
| Brush | Main purpose | Typical movement | Use it when |
|---|---|---|---|
| Mini crease brush | Small-area crease blending and detail | Short circular, windshield-wiper, or targeted softening motions | You need control around the crease, outer corner, or lash line |
| Packing brush | Depositing powder eyeshadow on the eyelid | Pressing or patting | You want concentrated lid colour before blending |
| Larger blender | Diffusing a broader transition edge | Light sweeping or soft circular motions | You need to soften a wider area without concentrating pigment |
A packing brush is not simply a larger version of a mini crease brush. It is designed to pick up and place powder on the lid. Its flat head and firmly packed bristles are useful for depositing colour evenly, while the smaller crease brush is more appropriate once you need to soften edges or work in a narrow area.
Begin by placing your main lid shade before working on the crease. Use a packing eye brush to press eyeshadow onto the eyelid, then tap away excess before applying it. This keeps the strongest colour where you want it instead of distributing it through the crease too early.
Pick up a modest amount of crease shade with the mini brush. If the brush looks heavily coated, remove some product before it reaches the eye. Building in thin layers is easier to control than trying to correct a dense stripe.
Touch the brush into the crease or slightly above the lid fold, depending on where you want the colour to appear. Make a few short motions in that area first. Check the placement before extending the colour toward the inner or outer corner.
Use small circular motions or short back-and-forth movements to soften the edge. Keep the handle relatively light in your hand and let the bristles do the work. If the colour starts moving beyond the intended area, stop, assess, and use a clean or less-loaded brush to soften only the edge.
Once the crease is balanced, use the slim tip for a small amount of outer-corner definition. You can also use the brush to smudge eyeliner along the lash line. Work in short sections rather than pulling one long line through the entire eye.
Too much pigment on a small brush can create a concentrated patch that is difficult to soften. This is especially noticeable with deeper shades. Pick up less than you think you need, tap away excess, and build only after checking the first layer.
A mini crease brush can move colour, but it is not the most efficient choice for covering the eyelid. Trying to pack the lid with it may create uneven coverage and force you to make repeated strokes. Place the lid shade with a packing brush, then reserve the mini brush for the crease and detail work.
If crease colour sits only on the mobile lid, it may disappear when the eye is open. Start by identifying where you can see the colour when looking straight ahead, then work in small increments. The goal is not to copy a fixed placement on every eye, but to observe where your colour remains visible and comfortable.
Colour can also travel higher than intended when the brush is overloaded or the motion is too broad. Keep the first layer close to the target area. A larger blender can soften a transition later, but it cannot easily remove excess pigment that has been spread too far.
Heavy pressure bends the bristles and can move colour abruptly. It may also make blending feel rough around the delicate eye area. Use light pressure, particularly when softening the upper edge, and increase product gradually rather than forcefully.
Long strokes can carry pigment away from the area where you first placed it. They can also create an uneven band if you repeatedly pass over one section. Use short motions, lift the brush, inspect the result, and reposition as needed.
Blending is not the same as erasing every visible change in colour. Stop when the edge is softened but the crease still has shape. If the result becomes too diffuse, return with a small amount of colour and rebuild the area rather than scrubbing with more pressure.
One eye may receive more product simply because you began there. Compare both eyes before adding another layer. Matching the amount of colour and the height of the crease is easier while the layers remain light.
For the outer corner, place the tip where you want the deeper shade to begin and use tiny motions to soften it into the crease or lid colour. Keep the area compact until you are satisfied with the shape. This approach gives you a chance to adjust the depth without immediately extending colour across the entire eye.
For lash-line smudging, use a small amount of powder or work along an existing eyeliner line with gentle, short strokes. Keep the brush close to the lashes and avoid pressing into the eye. Because a mini brush concentrates product, build the effect in small sections and pause to check whether more is needed.
The most useful selection question is simple: do you need to place a large amount of colour, or do you need to control a small amount of colour? Choose a packing brush for the first task and a mini crease brush for the second.
It is designed for the crease and other small areas that need controlled definition. Start close to your intended placement, then soften the edge gradually. The best height depends on your eye structure and the visibility you want when your eyes are open, so check the result from a natural, forward-facing position.
Use light pressure, especially when blending the upper edge or working near the lash line. If colour is not showing strongly enough, add a small amount of product rather than pressing harder. Excessive pressure can move pigment too far and make the brush less comfortable.
Use a separate packing brush when you want concentrated powder colour on the eyelid. Then switch to the mini crease brush for crease blending and detail. This division of tasks usually makes product placement easier to monitor and reduces the need for broad corrective blending.
Yes. A mini crease brush can be used to smudge eyeliner along the lash line, provided you work gently and in short sections. Keep the brush close to the lashes, use a small amount of product, and stop if the eye feels irritated.
Effective mini crease brush techniques depend less on using more pigment and more on controlling where pigment goes. Place lid colour with a packing brush, add crease colour in light layers, use short motions, and adjust the outer corner or lash line gradually. If blending feels difficult, first reduce the product amount and pressure before deciding that the brush is unsuitable.
For shoppers comparing eye makeup tools and skincare products in one online collection, Oria Botanica offers a Mini Crease Brush alongside other beauty essentials. Review the product details and choose the tool that matches the specific application task you want to perform.