


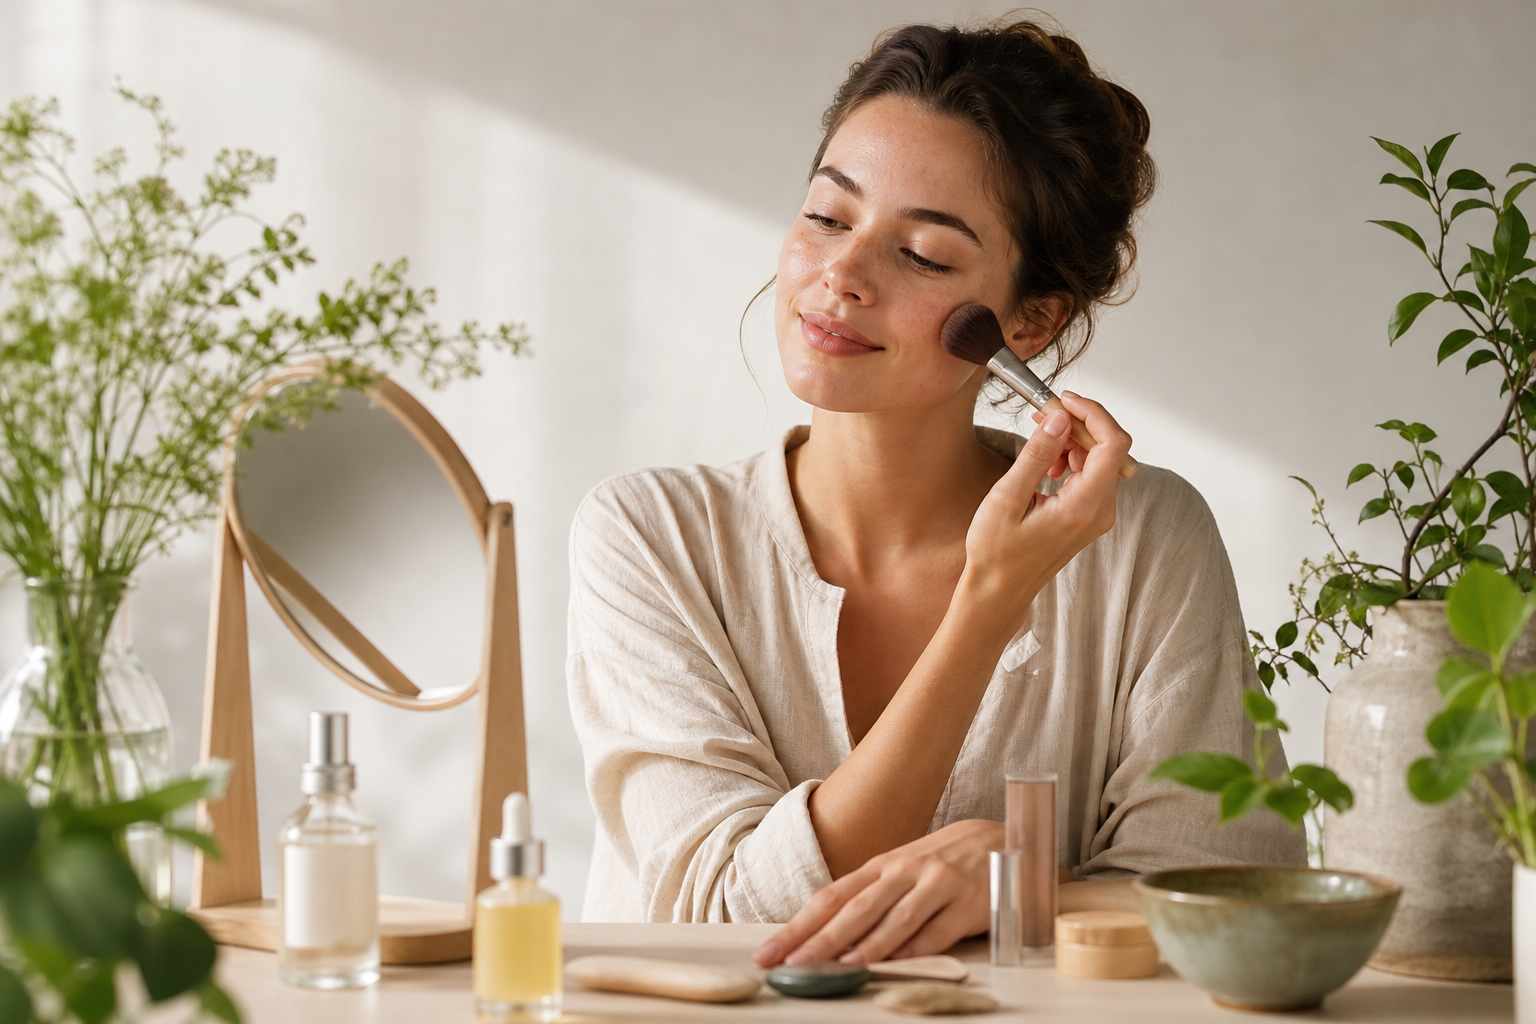
Natural makeup is less about hiding and more about enhancing. These seven natural makeup tips focus on skin-first prep, lightweight, buildable products, and small application choices that keep your look believable. Each tip includes clear steps, a time-friendly variant, and clean beauty suggestions for ingredient-conscious shoppers who prefer botanical, cruelty-free options.
A believable no-makeup makeup look begins with healthy skin. Cleanse to remove excess oil and impurities, treat specific concerns with targeted serums, then lock in moisture with a lightweight cream. Good skin prep makes makeup sit better and reduces the need for heavy coverage, which is a core recommendation from makeup experts and beauty editors (L’Oréal Paris) and (Glamour UK).
Quick routine, 2 to 3 minutes
For shoppers who prefer clean, North America-crafted formulas, Oria Botanica presents botanical, cruelty-free skincare essentials such as a Kale Face Cleanser and Glycolic Acid Serum on its online shop, with free shipping available for orders over $100 (Oria Botanica). If you have sensitive or reactive skin, patch-test a new product and consult a dermatologist for medical advice.
Heavy foundations instantly read as makeup. Editors and pros recommend swapping to a skin tint, BB or CC product, or a sheer-finish serum to even tone while preserving skin texture (GLOW). Choose a formula with buildable coverage so you can add only where needed.
Application steps
Shade matching tip: test shades along the jawline or neck under natural light and pick the one that disappears into your skin. Lightweight textures are friendlier to ingredient-conscious shoppers because they require less pigment and fewer film formers, which reduces the chance of feeling heavy on skin.

Concealer should correct, not cover. Apply thin layers where you truly need coverage: under-eye shadows, persistent redness around the nose, or individual blemishes. Makeup guides stress a building approach, starting thin and layering very small amounts to avoid cakey texture and to keep the look natural (DailyMakeupTips) and (L’Oréal Paris).
Targeted concealer routine, 1 to 2 minutes
Cream blushes, bronzers, and highlighters sit closer to the skin and move naturally with it. Professionals recommend creams for a dewy, skin-like finish that is difficult to achieve with powder alone (Lipstick Queen) and (GLOW). Creams are easy to blend with fingers or a dense sponge, and they layer subtly under or over a lightweight base.
Placement and technique
One-minute trick: dot cream blush, then blend with a finger in small circular motions for a natural flush.

Brows and lashes create structure. Avoid heavy pencils or blocky strokes that read made-up. For brows, use micro-feathering strokes with a pencil or a tinted brow gel in a shade slightly lighter than your hair if you want a softer look. For lashes, a single coat of a separating mascara lifts and opens the eye without adding weight. Makeup professionals warn that heavy eyeliner can age the look and pull it away from natural harmony (DailyMakeupTips) and (Lipstick Queen).
Application tips
If you prefer a clean beauty mascara option, Oria Botanica lists a Dual Lash Mascara among its makeup offerings and highlights cruelty-free formulas crafted in North America (Oria Botanica).
Heavy lip colour can break a natural effect. Lip oils, tinted balms, or sheerer cream lipsticks read fresher and keep the overall look soft. Editors recommend lip oils for a hydrated, modern finish and caution that full matte lipsticks often read more made-up (GLOW) and (Lipstick Queen).
Finishing technique
Oria Botanica lists a Vegan Lip Balm and Long Lasting Matte Lipstick among its lip options; choose the balm or a sheer tint to stay aligned with a no-makeup makeup intent (Oria Botanica).
Tools matter more than you think. A small set of reliable tools makes natural application faster and more precise. Core tools to own are a classic blender, a mini crease brush for eyes, and a packing brush for any cream products. A tool-first guide explains how brushes and sponges change finish and blending ability, which is key to a skin-like result (BS MALL).
Core tool list
Five-minute everyday routine
10 to 15-minute polished routine
Where to buy clean products in Canada
If you want botanical, cruelty-free options made in North America, Oria Botanica presents a curated selection of skincare and makeup items crafted with those priorities and ships nationally from its online store. The brand highlights items such as Kale Face Cleanser, Active Eye Cream, Dual Lash Mascara, and Long Lasting Matte Lipstick while noting free shipping on orders over $100 (Oria Botanica). Compare ingredient lists, choose lightweight textures, and patch-test if you have sensitivities.
Use a light-reflecting skin tint rather than heavy foundation, avoid full-face powder, and add a touch of cream highlighter to cheekbones. Warm, even lighting will help your makeup read as skin on camera. Test your routine in the lighting you will use for calls and adjust coverage incrementally.
Yes. Tailor textures to skin type: oil-control or mattifying primers for oily skin, lightweight hydrating tints for combination skin, and richer creams or hydrating serums under makeup for dry skin. Focus on minimal, targeted application so each product works for your concern without piling on layers.
Test shades along your jawline in natural light and choose the one that disappears into your skin. If you are between shades, pick the warmer one for a more natural daytime look or mix a small amount on the back of your hand to custom-match.
Longevity depends on formula and skin type. Use a light primer on oily zones, set only the areas that crease or shine with a small amount of translucent powder, and consider a setting mist for extended wear. Reapply balm or lip oil as needed to maintain the fresh finish.
If you would like to explore clean, botanical makeup and skincare that align with these natural makeup tips, visit Oria Botanica to view the collection and shop online.